Will guide you to how to use a Wappsto IoT Cloud and to build your first project with Wappsto.

Things used in this project
| Hardware components | ||||
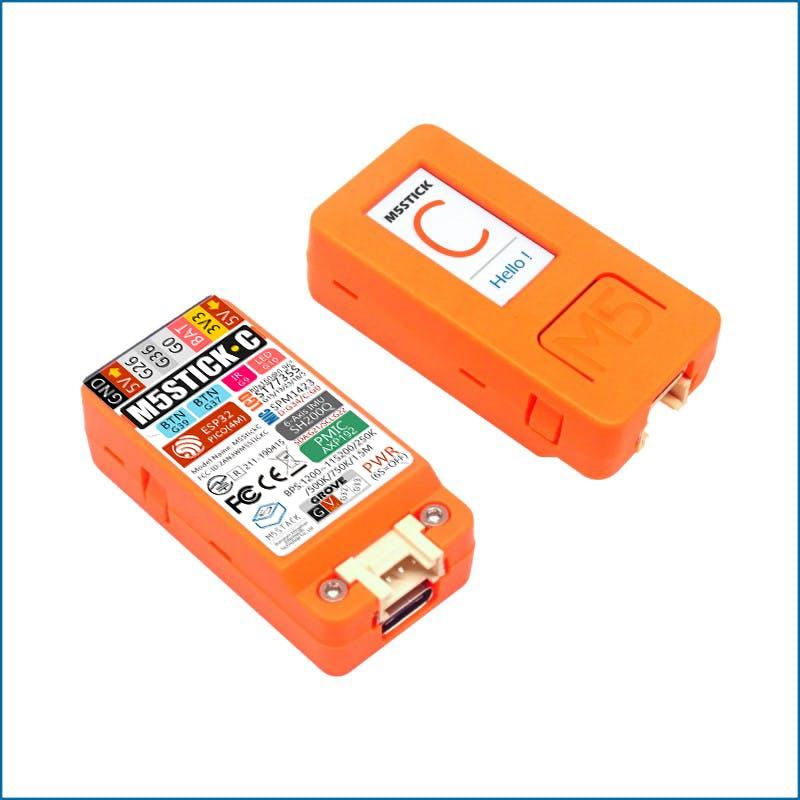
 | M5Stack M5StickC ESP32-PICO Mini IoT Development Board | × | 1 | |
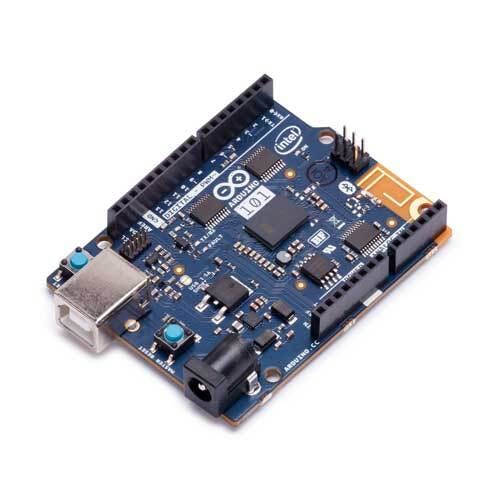
 | Arduino 101 | × | 1 | |
| Software apps and online services | ||||
 | Arduino IDE | |||
| wappsto |
Story
Introduction:
Here are some information about Wappsto, this information was taken from (https://wappsto.seluxit.com/about/)
What is Wappsto?

Wappsto is a web app store where you can share and, in the future, even sell your data and buy my data.
But why would I want to buy and sell data?
Data is the key to enriching my personal smart life. If, for example, my neighbor already has a weather station, I can save myself the trouble and buy his data.
Okay, so why would I want my neighbor’s data? For example, with weather data, I could better control my floor heating.
But how do I put the data to use? Wappsto!
Wappsto is the AppStore that Steve Jobs might have dreamt of as a web app store. No SDK, just web standards.
Wappsto where data exchange between you and me is improving our smart life. It is a sophisticated way to get your smart things and services to work together.
Inspired by the AppStore, Wappsto is a web app store where you can find web apps to automate the stuff in your life. We call them ‘wapps’. Wappsto is also a web-based tool to create and run wapps.
Wappsto brings together the capabilities of talented developers with the highly personalized needs of individual end-users. Because developers create programs with javascript, they have powerful flexibility, enabling end-users to tackle even the most challenging automation tasks with ease.
Wappsto’s Mission
We created Wappsto in response to recurring high-level challenges that we were facing when developing solutions for our customers within the Internet of Things (IoT). Our customers wanted to automate the interaction of their devices, but their customers also wanted to include third-party things and services in their automation.
The desired automation was often complex, but they wanted flexible configurations in a straightforward user interface. We realized that there is no one-size-fits-all solution for these problems, so we developed a software framework to make creating these personalized solutions easier.
Wappsto’s Vision
Many hands make light work. We want to share the framework that we created with as many as possible because if we help individuals realize their own highly personalized ideas for combining things and services, there’s a lot of work to be done. But we have to work smart. We’ve taken our inspiration from the AppStore because a market is optimal to generate and capture value.
All market participants stand to gain value. By employing a proven unified data model, Wappsto can represent any service or device of any producer. Wappsto is democratizing the process of integrating services and IoT devices. The more developers work together; the more powerful the platform will become. As it grows, more creative combinations are possible, and more end-users attract more developers in a positive cycle.
So, I think now you guys have some understanding of Wappsto and it’s services, now we are moving into a simple project that explains how we can use Wappsto into our IoT solutions?.
Step-1 : Setting up Wappsto Cloud Service
First you have to set up your Wappsto Cloud acount to use the Wappsto. Just type https://wappsto.com/ in your browser. Now we are in the Cloud Portal of Wappsto.

Simply create a new account with your information or email ID, then click on login.
After the login, you can see the home page of our dashboard.

First we have to add our IoT devices to the Wappstro, and then we can visualize the data by charts and widgets.
Wappstro uses certificates in order to communicate with cloud service, also you can use multiple mode of communication example (python, Arduino).
We can generate the certificates by two modes, one is by using python script and another one is using the web certification method.
In this demo, I’m going to show you the second way of generating the certification.
Navigate to store tab in the Wappsto dashboard, and you can see the IoT certification manager, click on that and install that.

Once you installed the certification, click on open, and it will direct to the certification page.

Here you can see two types of certification, select the Arduino certification and just click on download.
Once you downloaded the certification, click on the WappstoIoT for Arduino.

It will redirect you to the GitHub page of Wappsto IoT, This repo includes the Arduino example source codes.

Download this entire repo, we have to add this in our Arduino library.
Step-2 : Setting up Arduino IDE
Next, open up the Arduino IDE then goto Sketch→Include Library→Add Zip and select the downloaded the GitHub repo.

Once you added the library, then open the File→example→Library Example.
Select the Wappsto, and generic Temperature example.

First, we have to add our certificate in this code for that save as this example in another name and location.
Add the downloaded certification file into that project folder.

Next, close your Arduino IDE and open up again. Now you can see the certification file added into the project.

Now change the Wi-Fi SSID and Password in the project file.

Then just compile the project.

Once compilation successful, then upload to your ESP32 board. In this tutorial we are going to use M5Stick C, it’s made upon esp32 core.

Select correct board and com port, then click on upload.
After upload, open up the serial monitor and see for the results, wait to complete the connection.

Step-3 : Setting up Wappsto Cloud Dashboard
Next move on to the Wappsto dashboard and navigate to the devices, there you can see our ESP32.

Next, add widget, and select for the chart type.

Then select the device data variable. Here is Temperature.

Next move on to the chart customization and make as per your wish.

Now you can see your data in the dashboard.

Conclusion:
In this tutorial I have shown how to use Wappsto and how to build your first project with Wappsto, Next will show how to build a GPS tracker based on ESP32 and Wappsto.
