Monitor and track your staffs health by simple click, No need of manual health tracking.

Things used in this project
| Hardware components | ||||
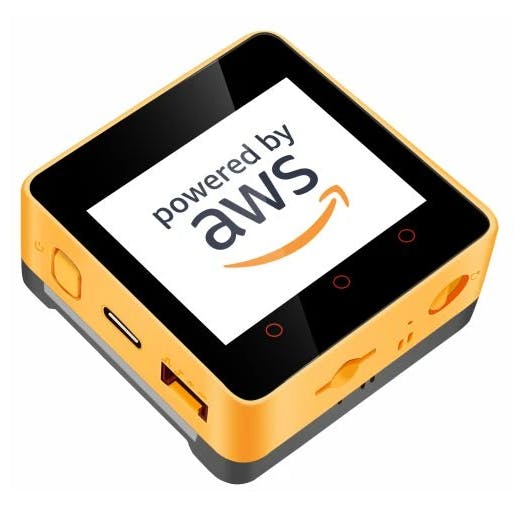 | Amazon Web Services AWS IoT EduKit | × | 1 | |
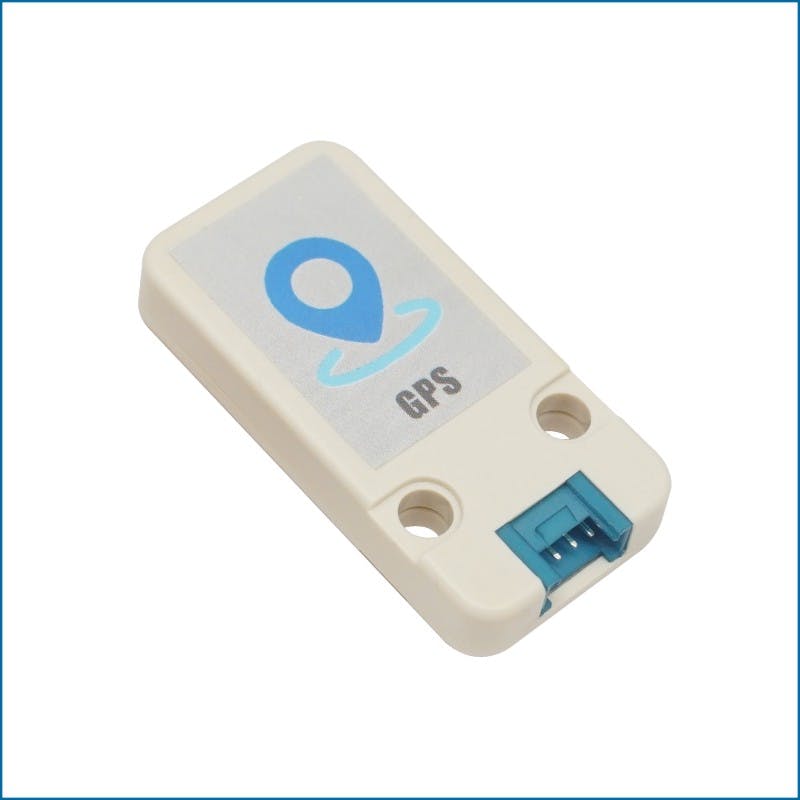 | M5Stack Mini GPS/BDS Unit | × | 1 | |
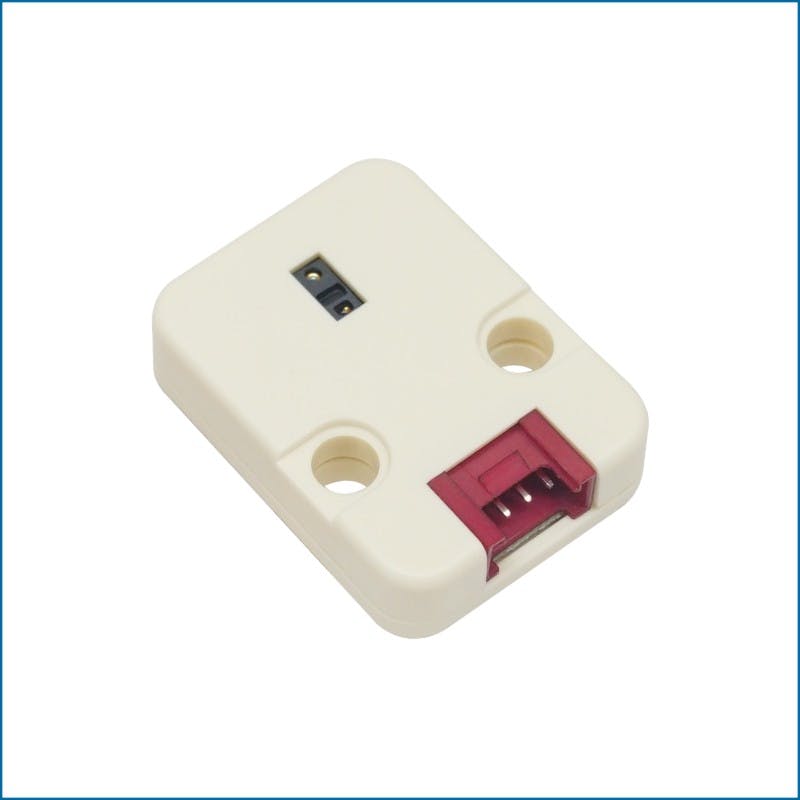 | M5Stack Mini Heart Rate Unit MAX30100 Module Sensor | × | 1 | |
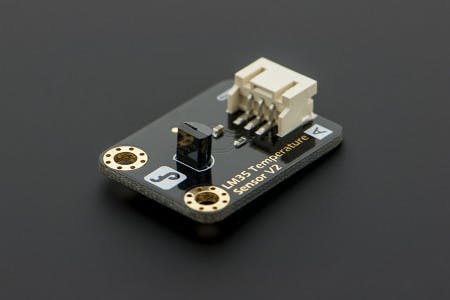 | DFRobot Gravity: Analog LM35 Temperature Sensor For Arduino | × | 1 | |
| Software apps and online services | ||||
 | Arduino IDE | |||
 | Amazon Web Services AWS IoT | |||
 | Ubidots |
Story
COVID-19’s Rise and Impact in India:
India has also been infected with the new coronavirus illness; approximately 250 000 cases have been recorded so far. India, with a population of over 1.3 billion people, may become the next COVID-19 hotspot. The World Health Organization (WHO) recently warned that the “future of the pandemic would rely on how India manages it” due to the country’s high population density, low socioeconomic conditions, and lack of health-care resources, so It’s very important to take a necessary action against the virus.
![Multiple funeral pyres of those who died of COVID-19 burn at a ground that has been converted into a crematorium for mass cremation of coronavirus victims in New Delhi. [Altaf Qadri/AP Photo]](https://leadup.in/blog/wp-content/uploads/2022/11/image_SLm2CWQRKd.jpg)
Multiple funeral pyres of those who died of COVID-19 burn at a ground that has been converted into a crematorium for mass cremation of coronavirus victims in New Delhi. [Altaf Qadri/AP Photo]
Origin:
We never imagined such an epidemic could occur; at the time of the initial outbreak, there was little understanding of the virus, and many of our families, teachers, staffs, students, and others died as a result. We personally lost one of our friends who work as a doctor; he had no idea he was impacted by this COVID-19, and we also lost a lot of social workers. As a result, it’s vital to keep in check on their health at all times and to intervene if they don’t feel well or if any urgent circumstances arise.

Indian doctors protesting against assaults on health workers. (AFP or licensors)
The Spark:
At first considered creating a gadget that could track the doctors’ and staff’s health and send the data to a cloud server, where it would be monitored by a welfare team.
Initially, we planned to build this with an ESP8266 and other sensors, with the data being transmitted to Blynk, but the problem is that we can’t track many devices at once. We just heard about the contest after that, and we applied for the hardware as well. Surprisingly, our design was also accepted for the hardware.
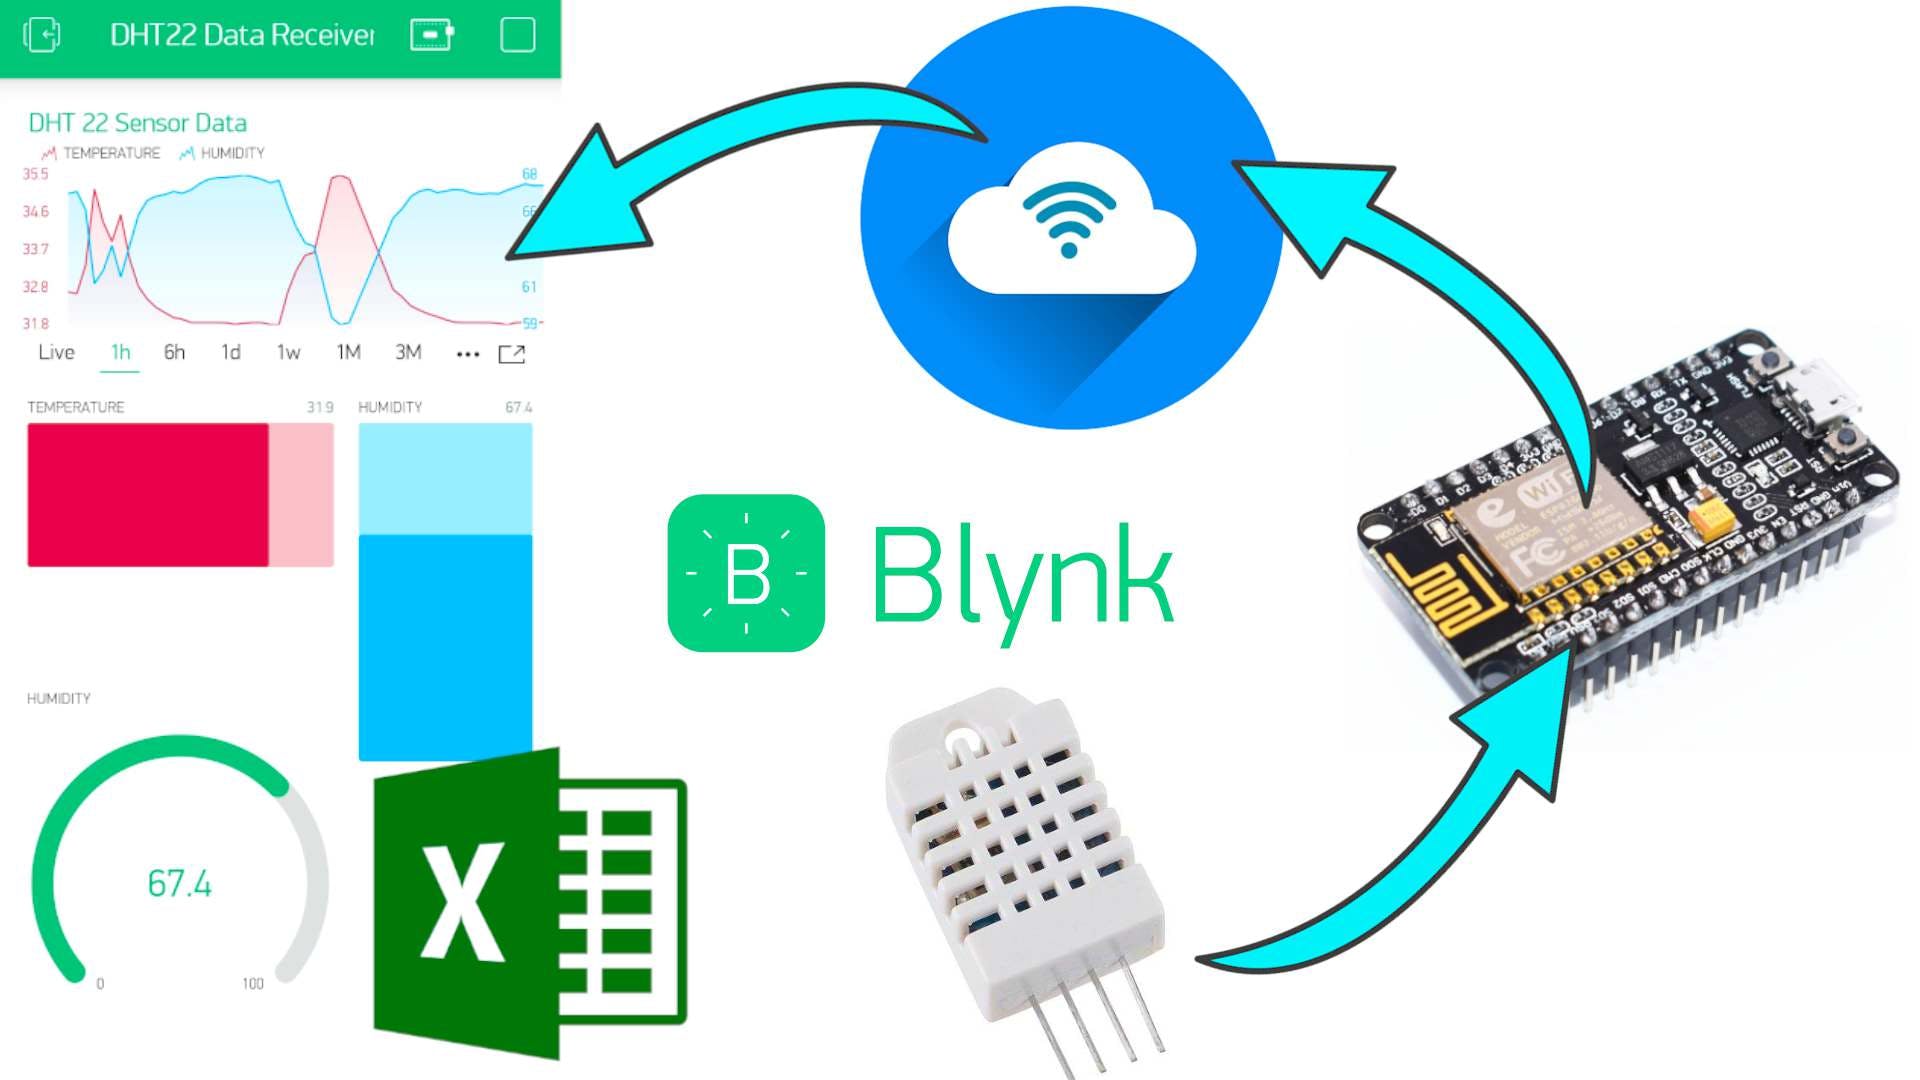
source from google
About the Hardware:
1. M5Stack Core2 AWS Edu Kit –
Let’s have a look at some of the features of the M5Stack Core2 AWS Edu Kit, which has a built-in battery, monitor, and other peripherals.
- ESP32-D0WDQ6-V3, supports 2.4GHz Wi-Fi, Bluetooth 4.2, BLE
- 16M Flash, 8M PSRAM
- Built-in ATECC608 hardware encryption chip
- Capacitive touch screen
- Built-in PDM microphone, power indicator, 6-Axis IMU, vibration motor, I’S codec, Amplifier, Speaker, RTC, power button, reset button, 10 x RGB LEDs
- TF card slot (support up to 16 GB)
- Built-in 500mAh Lithium-ion battery, equipped with power management chip
- Supports Arduino, UI flow, micro python development frameworks
- Validated through AWS Device Qualification Program.

source from M5Stack
2. AWS IOT Core:
Without the need to create or manage servers, AWS IoT Core allows you to connect IoT devices to the AWS cloud. AWS IoT Core can handle billions of devices and trillions of messages, and it can reliably and securely process and route those communications to AWS endpoints and other devices. Your apps can use AWS IoT Core to maintain track of and communicate with all of your devices at all times, even when they aren’t connected.
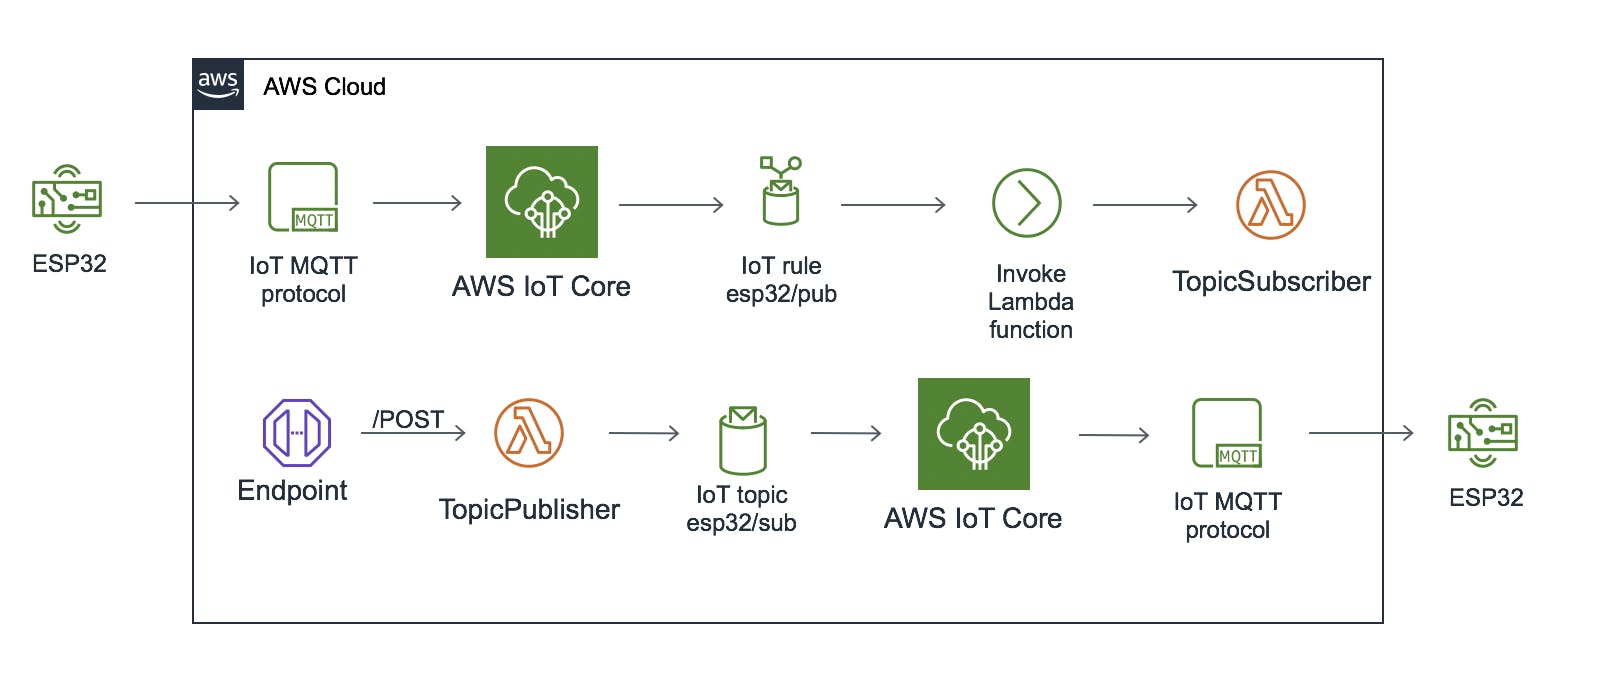
image from AWS
2. Ubidots:
Ubidots is an Internet of Things (IoT) platform that enables innovators and businesses to prototype and grow IoT concepts into production. Send data to the cloud using the Ubidots platform from any Internet-connected device. Two extra replications, encrypted storage, and optional TLS/SSL data support will keep your data safe.

image from google
Flow Map:

I’ll presume you’ll be able to read my handwriting.

Let’s Start to Build:
The first part is to create a secure MQTT communication using AWS, if i explain the whole process it will take so long, you may get bored . So i will simply mention the whole process.
1. Creating a Thing in the AWS IoT Core, generating a certificate and attaching a policy to it.
Check the following tutorial for step by step Explanation: How to create a thing in AWS IoT Core, its Certificates & policies
2. Setting up AWS, & Adding User to Retrieve an AWS User Access Key
Now, go to your AWS IAM Management console, then click on the “Users” option at the left panel, and follow the below steps:
Step 1: Click on the “Add user” button.
Step 2: Enter a name for the user, select the option “Programmatic Access” and move to the next page.
Step 3: Click on the option “Attach existing policies directly“. Look for “IAMFullAccess” and select it. Move to next page
Step 4: Skip the tags page and move to the next page.
Step 5: Review the details you have provided, then click on the “Create user” button to complete the process.
Step 6: Copy the “Access key ID” and the “Secret access key” which will be used later to complete the AWS Plugin on the Ubidots platform. You can also download the keys with the “Download .csv” button.
Note: I have clearly explained this procedure on video, tutorial. You can refer it for more understanding.
Once created, You can see the newly added user on the Users tab.
3. Setting up Ubidots & Adding the AWS Plugin
Visit ubidots.com, Ubidots is one of the best IoT Platform to connect things and visualize data. as you can see here, Ubidots have wide no of data visualizing options and it has an eye-catching userfriendly interface.

Step1: Create a new Plugin – go to “Devices” → “Plugins” → “Create Data Plugin”:
Step 2: Select the “AWS IoT” and then click in the arrow button located at the bottom right.
Step 3: Click “Connect” to link your AWS IoT account with Ubidots.
Step 4: Enter your AWS Access Key ID and Secret Access Key created earlier in this guide. By entering your AWS Access Key, Ubidots will automatically set up the required resources in AWS to complete the integration and begin streaming data to Ubidots that is flowing to AWS IoT.

After plugging Ubidots into your AWS account, Ubidots will automatically create the required resources to stream data from an AWS IoT device to Ubidots.

That’s all our whole cloud configurations are over, now let’s move to programming part.
Programming:
I have to give respect to this AWS GitHub repo. I had taken a reference from this only
https://github.com/aws-samples/aws-iot-esp32-arduino-examples
Now you have the
1. Amazon Root CA Certificate
2. Device Certificate
3. Device Private Key,
4. End Point Address from AWS IOT Core.(check the tutorial above “AWS configuration”)
We are gone to use these to communicate our device to AWS MQTT.
#include <pgmspace.h>

#define SECRET
#define THINGNAME ""                                                          //change this
const char* http_username = "admin";
const char* http_password = "admin";
const char WIFI_SSID[] = "ELDRADO";                                           //change this
const char WIFI_PASSWORD[] = "amazon1234";                                    //change this
const char AWS_IOT_ENDPOINT[] = "atv6zwxshlj9-ats.iot.us-west-2.amazonaws.com";       //change this

// Amazon Root CA 1
static const char AWS_CERT_CA[] PROGMEM = R"EOF(
-----BEGIN CERTIFICATE-----
MIIDQTCCAimgAwIBAgITBmyfz5m/jAo54vB4ikPmljZbyjANBgkqhkiG9w0BAQsF
ADA5MQswCQYDVQQGEwJVUzEPMA0GA1UEChMGQW1hem9uMRkwFwYDVQQDExBBbWF6
b24gUm9vdCBDQSAxMB4XDTE1MDUyNjAwMDAwMFoXDTM4MDExNzAwMDAwMFowOTEL
MAkGA1UEBhMCVVMxDzANBgNVBAoTBkFtYXpvbjEZMBcGA1UEAxMQQW1hem9uIFJv
-----END CERTIFICATE-----
)EOF";

// Device Certificate                                               //change this
static const char AWS_CERT_CRT[] PROGMEM = R"KEY(
-----BEGIN CERTIFICATE-----
MIIDWTCCAkGgAwIBAgIUHCjRu9W0iTZ1I50l6SrRcht+zm8wDQYJKoZIhvcNAQEL
jgECAwEAAaNgMF4wHwYDVR0jBBgwFoAUVxewWVrxZcn/qw49torFdoM1CfgwHQYD
VR0OBBYEFO0sAdWKpCj9LbbV1kUaBuP90ljxMAwGA1UdEwEB/wQCMAAwDgYDVR0P
AQH/BAQDAgeAMA0GCSqGSIb3DQEBCwUAA4IBAQCFUy6YXLbqeIHw7tgtKqORtJxq
Ff+ZC684EUIqLYCdSdYIsSB1Yd8jiVlFQ7TKEV3QOvU18o3/nE2djxsx6+s2z1Pz
51rpgRxcQKRBjfBYFyt9ci3XGrqe5xTP/Kn0t08jd234n6zaTxhEedV+A0+ANHk7
m9i72SICUpS7t/ZFZi/iApRf3gEPP60QCdFSrGZ8K7MJlUadCe9OTYvHivbzyiPC
xc4uPqijSV2LSAPmE04zVmhiKUc3SZaHhOrEiq6t8FnsQVWm4r27CasG/8JRiOQD
TgvhCdSWbpVN2E9ABwlH61CNzjDoOXWE1AZALkKgoamUonTvdSPfhKGxF1u2
-----END CERTIFICATE-----
)KEY";

// Device Private Key                                               //change this
static const char AWS_CERT_PRIVATE[] PROGMEM = R"KEY(
-----BEGIN RSA PRIVATE KEY-----
MIIEogIBAAKCAQEAmkEQuL286ypDVUqKoMy/EuQUADxxBARiW6ZH0jIt6KLTrhXN
TsaumaUa92FBMiHY9WbByVk4iEg2gjD9II3tJw1RqAFOni+N14tXFPagXu8NbOx/
-----END RSA PRIVATE KEY-----
)KEY";
In secrets.h file change the Wi-Fi SSID, Password, AWS Endpoint and all the certificates contents.
Change the HTTP username and password, latter we will use this for local web server OTA update, serial monitor debugging activities.
The next important thing is published topic name.
snprintf(topic, BUFFER_LEN_TOPIC, "$aws/things/""%02x:%02x:%02x:%02x:%02x:%02x""/shadow/update", mac[0], mac[1], mac[2], mac[3], mac[4], mac[5]);The topic name must be in this manner, I used to mac ID to differentiate the devices, in case if we go with thousands of devices we can’t able to find the particular device, but mac address can do.
I have used static IP address to create local web server, you can change as dynamic IP.
//it wil set the static ip address
IPAddress local_IP(192, 168, 43, 200);
//it wil set the gateway address
IPAddress gateway(192, 168, 43, 1);
// Following three settings are optional
IPAddress subnet(255, 255, 255, 0);
IPAddress primaryDNS(8, 8, 8, 8);
IPAddress secondaryDNS(8, 8, 4, 4);
Change the gateway address according to your network credentials.
Once the device got connected to the network, it will create a local web server by this following piece of code.
server.on("/", HTTP_GET, [](AsyncWebServerRequest * request) {
    if (!request->authenticate(http_username, http_password))
      return request->requestAuthentication();
    request->send(200, "text/html", webpageCode);
  });

    server.on("/logout", HTTP_GET, [](AsyncWebServerRequest *request){
    request->send(401);
  });

  server.on("/logged-out", HTTP_GET, [](AsyncWebServerRequest *request){
    request->send(200, "text/html", logout_html);
  });

  AsyncElegantOTA.begin(&server);    // Start ElegantOTA
  Serial.print("server IP Address: ");
  Serial.print(WiFi.localIP());
  server.begin();
I have added an authentication to log in the local web server. Default username and password will be admin, admin (you can change these in secrets.h code)
The json format is respect as per the ubidots condition so that only it can easily rephrase the data in the json.
StaticJsonDocument<500> doc;
  JsonObject root = doc.to<JsonObject>();
  JsonObject state = root["state"].to<JsonObject>();
  JsonObject reported = state["reported"].to<JsonObject>();
  reported["Heart_Rate"] = pox.getHeartRate();
  reported["bpm / SpO2"] = pox.getSpO2();
  reported["Temperature"] =  tempC ;
  JsonObject Location = reported["Location"].to<JsonObject>();
  Location["latitude"] = Lat;
  Location["longitude"] = Lng;
.JSON format from ubidots.
{
	"state": {
			"reported": {
				"temperature": 23,
				"humidity":55
			}
	}
 }
Add your own data variables in the field of temperature and humidity.
I have connected the lm35 in port B in 36 th pin no, and GPS unit in port C and Heart Rate sensor in port A. that’s all our circuit connection.

Sum = 0;
  for (int k = 1; k <= 100; k++) {
    RawValue = analogRead(36);
    Sum += RawValue;
  }
  Sum /= 100;
  Voltage = (Sum / 2048.0) * 3300; // in millivots
  tempC = Voltage * 0.1;

  HR_loop();
  gpsloop();
This piece of code can calculate the temperature rating, Heart Rate and Gps data.
You can find the below video about the local web server when our device is in action.
I think the programming part is almost over. Now let’s start the action.
Upload the life-line.ino to your M5Stack and see the ip address which is shown in the serial monitor.

You can see the server ip address, enter the address in your browser.
This is what you can see in your browser.
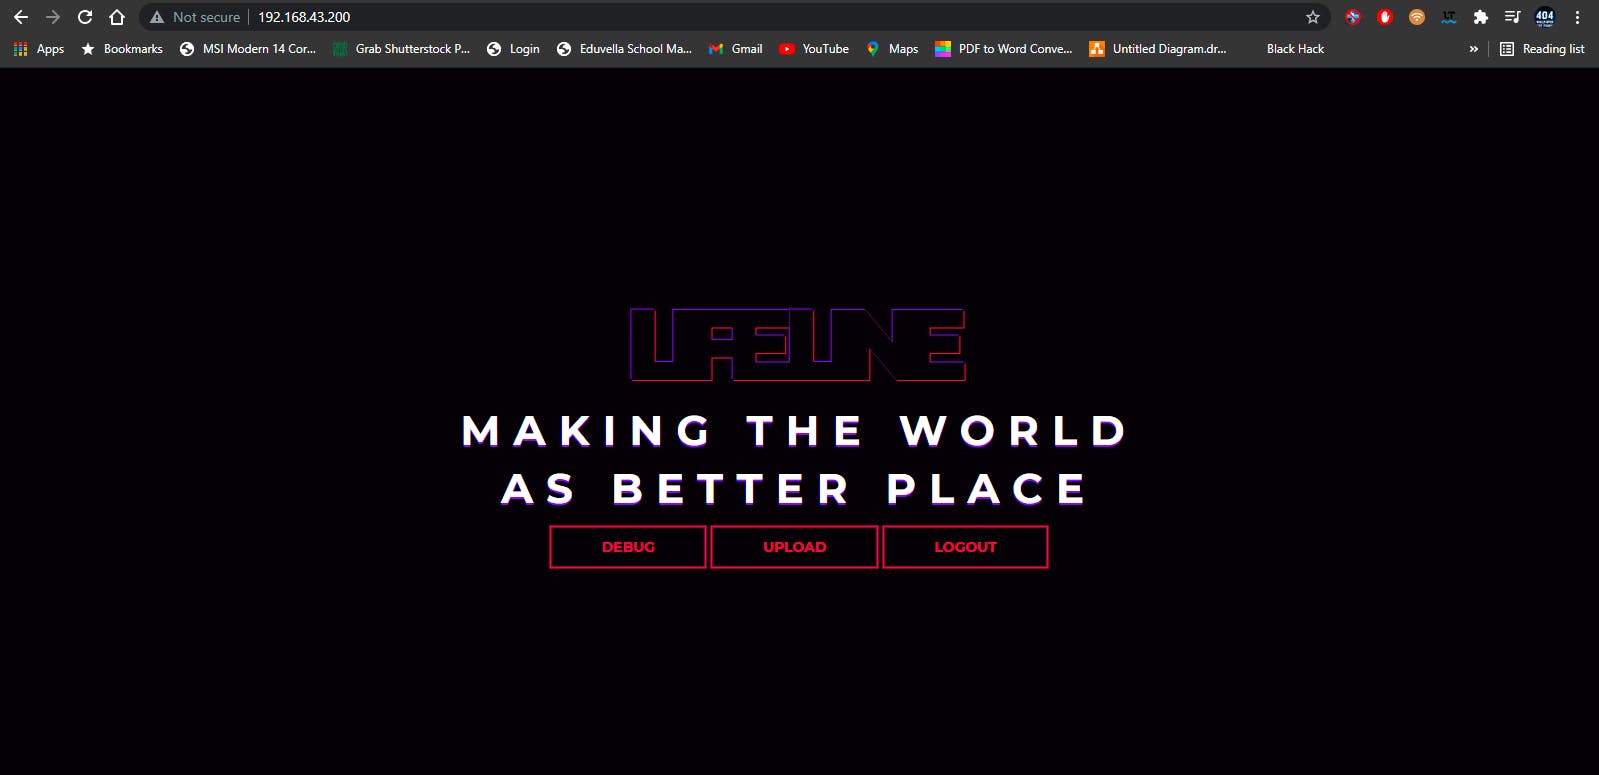
When you click the debug button, you can see the serial monitor results in your browser itself.

When you click the upload button, you can see the OTA upload window. In that, you can upload your .bin file of your .ino sketch. It will be useful once you implement in that in product level. So you don’t need to connect your device to a pc for updating the firmware. I think it will make our motive easier.
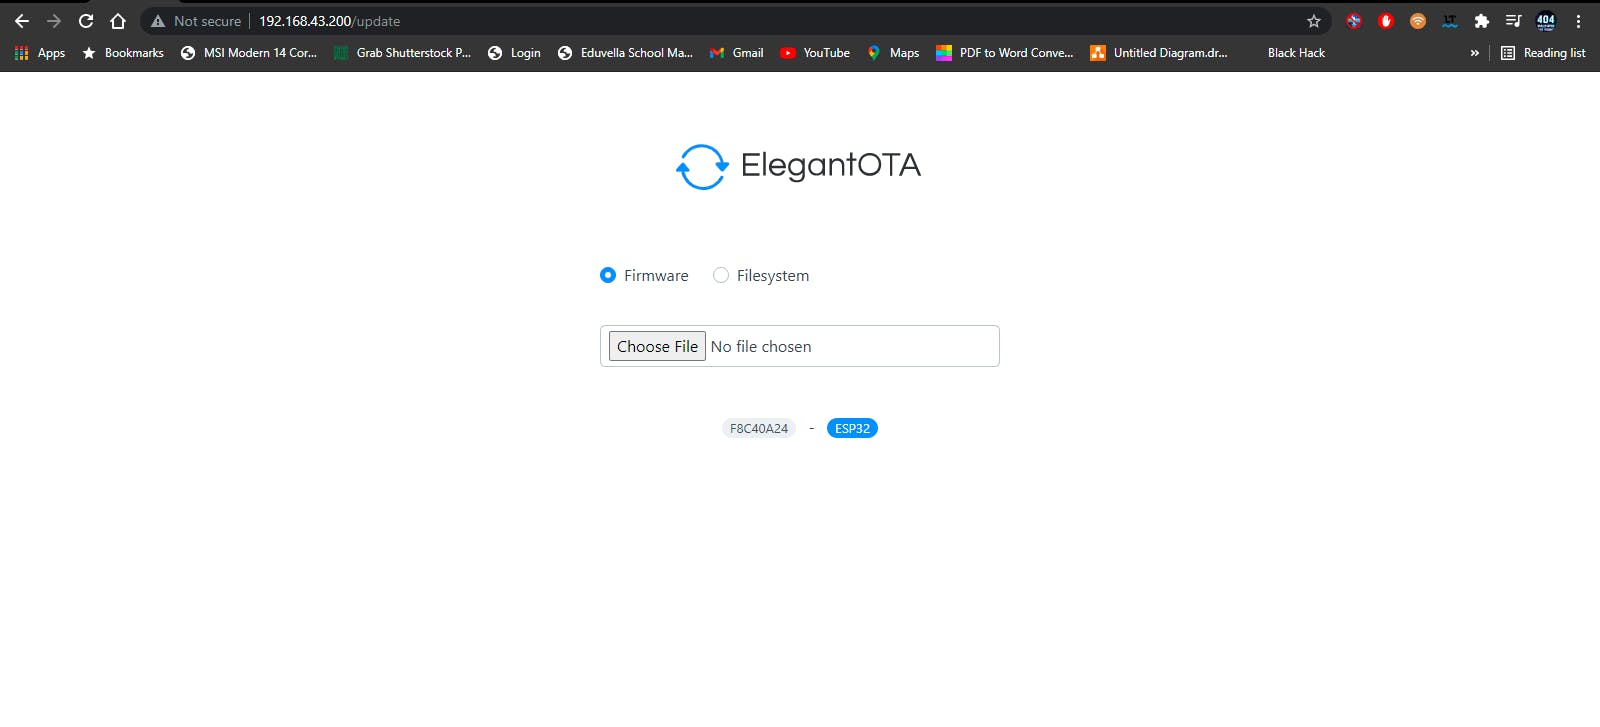
Debugging:
Note down the mac address and replace the mac address in this phrase.
$aws/things/”———————“/shadow/update
then go to the AWS IOT MQTT Test Client.

Type the above phrase in this subscribe tab, you can see the JSON data which is sent by our device.,

Final Thing:
Now the thing is we need to visualize the data, open the ubidots account and click devices—>plugin tab, in that you can see like this.

our device is now connected to ubidots. Then move to device tab.

Our devices’ mac ID will be displayed in that, so our device is working perfectly, then click the device and see the data variables.
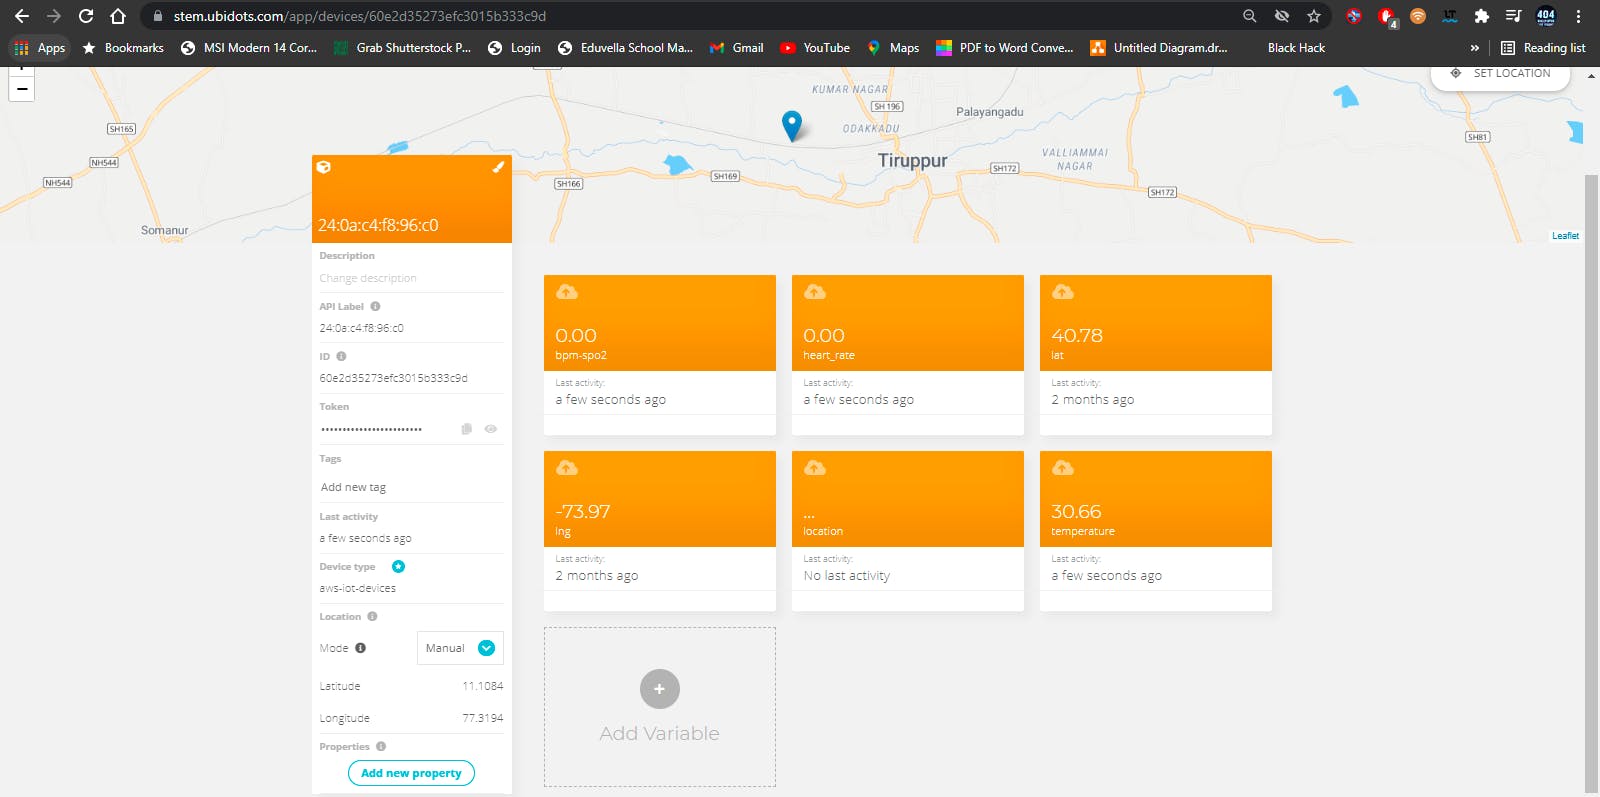
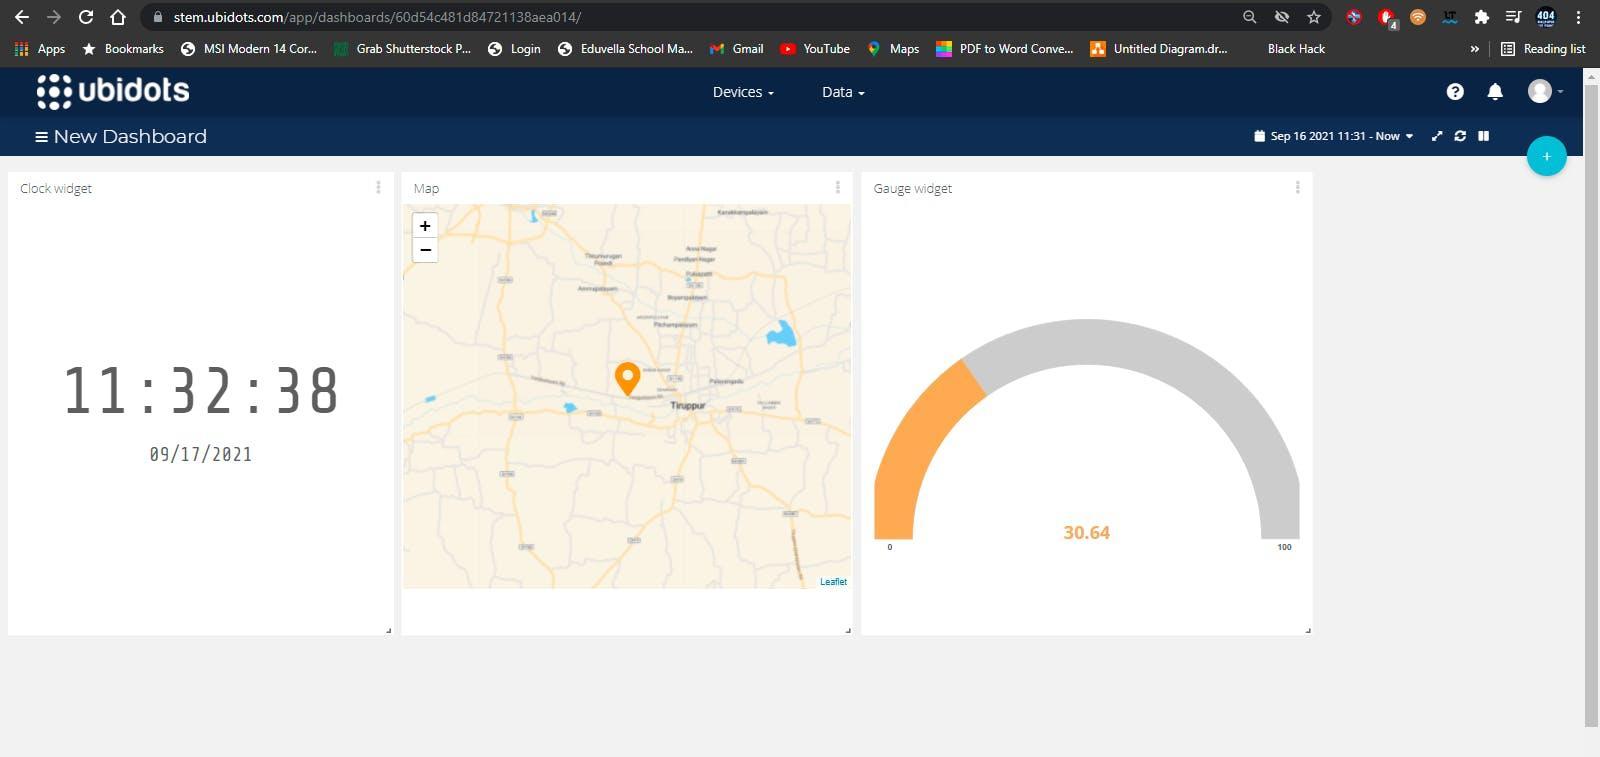
The data what ever inside the JSON are displayed in a perfect manner, next go to dashboard create a new gauge and select the data variable which you want to show in the gauge.
Conclusion:
It’s a pleasure to show our idea in this contest, we have planned to continuously update the firmware, let’s see in another project. Thanks. நன்றி கொக்கா மக்கா.

Code
Life-Line
Please unzip it and use.
